|
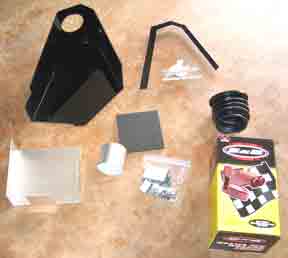
This is what comes in your Thrasher CAI kit. Black lower airbox assembly, clear cover, throttle body rubber duct, air filter, bag of hardware, cushion for PCM, aluminum air tube, and aluminum PCM cover. |
|
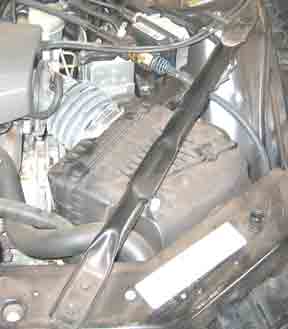
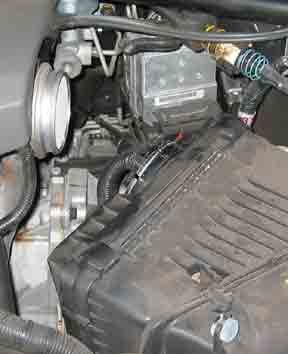
Here is the stock air box. Remove the three 13 mm bolts from the inner fender brace and relocate it. |
|
I just swung the brace up. Cover the ends with tape or it will scratch the paint. Guess what I didn't do... |
|
You could remove the brace, but Chevy attached a wiring harness to it. Rather than trying to pull it off, I left it in place and rotated the brace out of the way. |
|
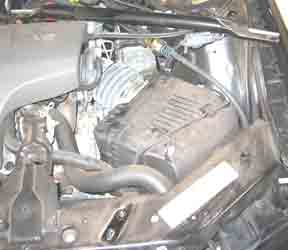
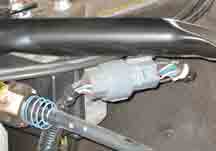
Disconnect the Intake Air Temperature (IAT) sensor electrical connector from the sensor located in the rubber air intake duct. Loosen the clamp securing the duct to the air filter housing. Carefully remove the duct from the throttle body and air filter housing. It will be difficult to remove from the throttle body. Just work slowly and carefully and it will come off. Remove the IAT sensor from the duct and don't lose it. You'll need to put it back in the new duct. |
|
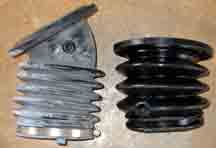
The factory air intake duct is on the left and the Thrasher one is on the right. Notice the IAT sensor holes in each? Round dot in the elbow of the factory duct and the lower left of the Thrasher unit. Notice that they are not in the same place. This will be important later. |
|
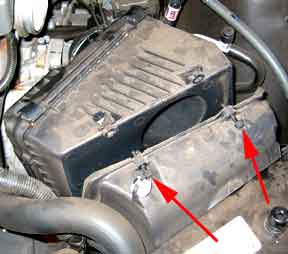
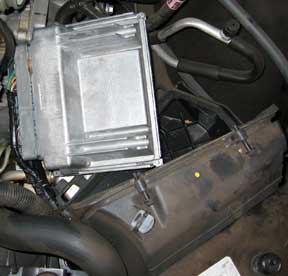
Remove the two bolts that hold the air cleaner housing and the PCM housing together. You will not have to remove the bolts completely. Lift the air cleaner housing out of the engine compartment. |
|
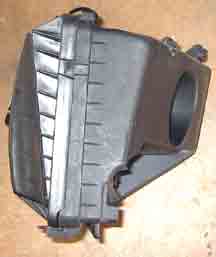
This is the air cleaner housing. |
|
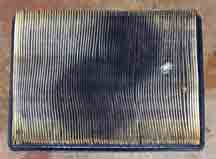
This is the old air filter. It has 28,000 miles on it. Notice that only part of the filter is dirty? The air only passes through one round section of the filter. The reason it looks like two overlapping circles is because I had removed the filter and turned it 180 degrees to expose a clean area a while ago. |
|
Without disconnecting the PCM, remove it and it's harness from the PCM housing. The silver box is the PCM. The PCM housing is held in place by two rubber grommets. Firmly pull up on the housing and it will come out of the grommets. Gently remove the housing. |
|
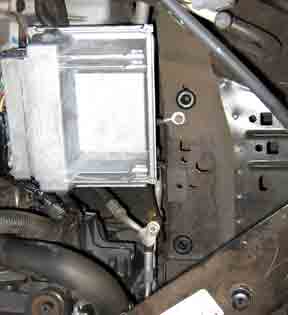
You can see the two grommets in this photo. Remove them. |
|
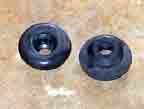
This is what they look like. Put them aside as we won't need them. |

Go on to part 2.