|
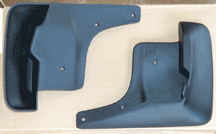
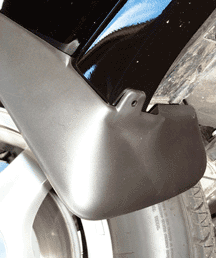
This is what both sides of the front molded splash guards look like. I ordered it from Chuck Hutton and Kim was very helpful. They offer free shipping, except for Hawaii. So I ended up paying $20 for shipping, but I did get it in two days. The part number for the front set is 12496349, the rear set is 12496350. NOTE: the rear set does NOT fit the 2001 model. I was going to cut it to fit, but after looking at it closely, I chose not to and returned it. If you were wondering why the rear guards will not fit the 2001 model, see the Rear Molded Splash Guard page. I was able to find a 2000 model so I have a side-by-side comparison.  Charles says that there is a new part number out for the rear molded splash guards that will fit the 2001 Impala. The stock number is: 12498346 Charles says that there is a new part number out for the rear molded splash guards that will fit the 2001 Impala. The stock number is: 12498346
|
|
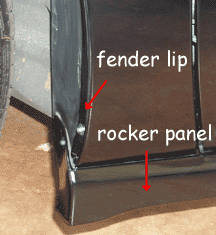
Wash the area and use a bug and tar remover to really clean the area. I used Turtle Wax Bug & Tar Remover. Don't forget under the rocker panel and the fender lip. Apply a generous coat, wait a bit, then wipe off. Don't press too hard because you could scratch the paint. I followed up with 3M General Purpose Adhesive Cleaner (part number 051135-08984). This is not really required, but I had it on hand. Before using anything on your car, try it out on an inconspicous place first. Neither the bug & tar remover nor the 3M cleaner should harm the paint, but you should always test just to be safe. |
|
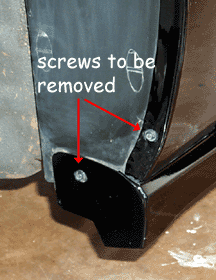
Turn the front wheels to gain additional clearance. Here you can see the two screws that need to be removed. Go ahead and remove them. You will need a 7mm socket. A 1/4" one will work as well. Clean the newly exposed areas. |
|
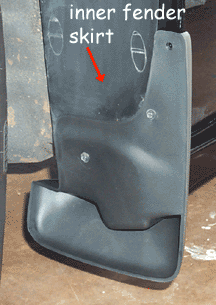
Hold the splash guard to the body and note where the holes are going to be. Apply masking tape to the areas where you are going to drill holes. The tape will protect the finish as you drill. Mount the splash guard and re-install the existing screws. Hold the guard firmly to the body panel as you tighten the screws. Make sure the screws grab the inner fender skirt. Drill a 3/32" hole through the fender lip and inner fender skirt. If you do not go through the skirt, the new screw will push the skirt away from the fender. This will deform the skirt and allow water and dirt to get behind the fender. |
|
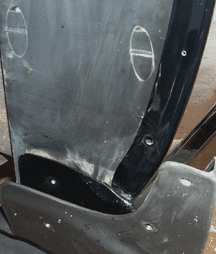
Jack up the car to get access to the underside of the car. Make sure you follow all safety guidelines. Chock the opposite tire and use a jackstand. You can drive the front wheel up on a curb or something but if you use the jack don't have to move the car. Also you can get familiar with the jack and locate the correct lifting points on the car. Better now than on the side of the road, in the dark, while it is raining.... Drill a 1/16" hole for the lower screw. I don't know why you use two different bits. I was just following the instructions. |
|
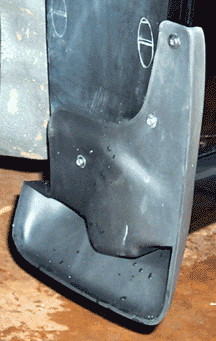
Remove the screws and the guard. Remove the masking tape and any metal debris. |
|
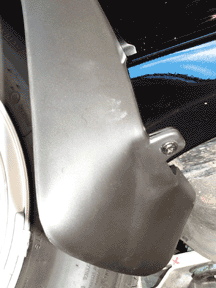
Hold the guard firmly against the body and reinstall the screws, again making sure the screws grab the inner fender skirt. Install the bi-waxed screw into the upper hole you drilled. I am assuming the coating on the screw will protect the exposed metal from rust. Make sure the screw goes through the skirt. You may have to back the screw out a little and try again. |
|
Install a non-coated screw in the lower hole. IMPORTANT: Do not over tighten. The rocker panel is plastic and you could strip the hole you drilled. |
|
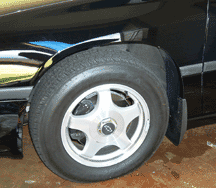
Lower the car and you are done. Don't forget to re-wax the area where you applied the bug and tar remover. Expecially important if you used the 3M cleaner. I only installed one splash guard on my car. I wanted to see how much of a difference it made. Of course, I have not driven in the rain since I installed it, so the jury is still out. |