|
|
|
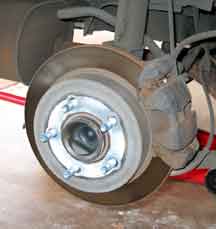
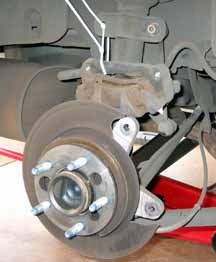
Remove the rear caliper brackets. DO NOT disconnect the hydraulic brake hose. Support the caliper so there is no strain on the hose. I used a few tie-straps to hold it up. This photo is a little ahead of the process. The rotor has been removed already and that should happen a few steps down. |
|
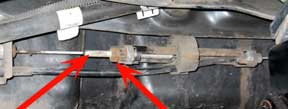
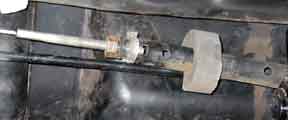
Relieve tension in the park brake system at the park brake equalizer. You can find it under the car, toward the rear of the gas tank. Use a small wrench to hold the cable still (left arrow) and rotate the equalizer nut (right arrow). Notice on my car, the nut was backed all the way to the end of the threaded portion. The dealer just tightened up this instead of doing it the way the Service Manual specifies. |
|
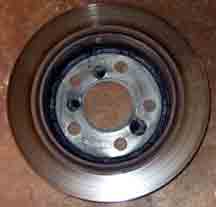
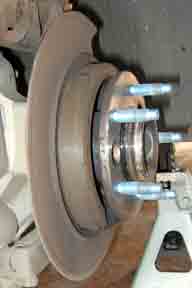
Remove the brake rotor. This is the view of the inboard side of the rotor. |
|
This is the side of the parking brake shoe. Not much material, but it is only supposed to hold the car in place so wear is supposed to be minimal. |
|
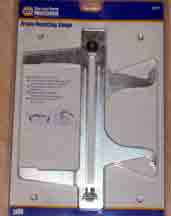
Ok, you are supposed to use a Brake Resetting Gauge (J21177-A) to measure the widest point of the drum then position it over the widest point of the Park Brake Shoe and turn the adjuster on the acutator until the shoe just contacts the tool. I went to NAPA and their version was almost $60 (Brake Resetting Tool, #3377). I figured I could measure it with a tape rule and save the money. It doesn't work that way. I did without the tool by turning the adjuster a bit, replacing the disk, and spinning it to see if there was a drag. When there was one, I backed off on the adjuster. This took a while so after I was finished, I went out and got the tool. I figure I will have to do this again. |
|
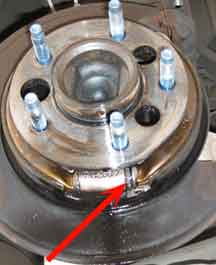
The park brake actuator is located on the bottom of the assembly. The arrow points to the adjuster. If your car is anything like mine, the whole thing will be covered in dust and grime. Get a can of Brake Cleaner and spray it off. Use safety glasses because it can spray back at you and you don't want to get this in your eyes. As I mentioned, I turned the adjuster, replaced the disk, and check for a drag. Time consuming, which is why I picked up the tool. |
|
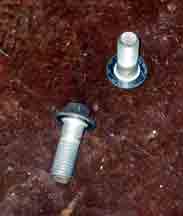
Reinstall both rotors and the caliper brackets. Do not put strain on the hydraulic brake hose. The Service Manual states that new brake caliper bolts have to be used when replacing the caliper. It says that the new bolts are coated with a thread locking compound. I didn't see any on the old bolts. Since I didn't have any new bolts, I cleaned the old ones, applied some thread locking compound, and reinstalled them to 85 lb-ft. |
|
Put the wheels back on and adjust the parking brake by turning the nut on the equalizer while spining both rear wheels. When either wheel starts to drag, back off the nut one full turn. If you compare this photo to the one above, you can see how much the dealer tightened up the nut. Lower the car and check to see that the parking brake holds. If it doesn't, repeat the process. |